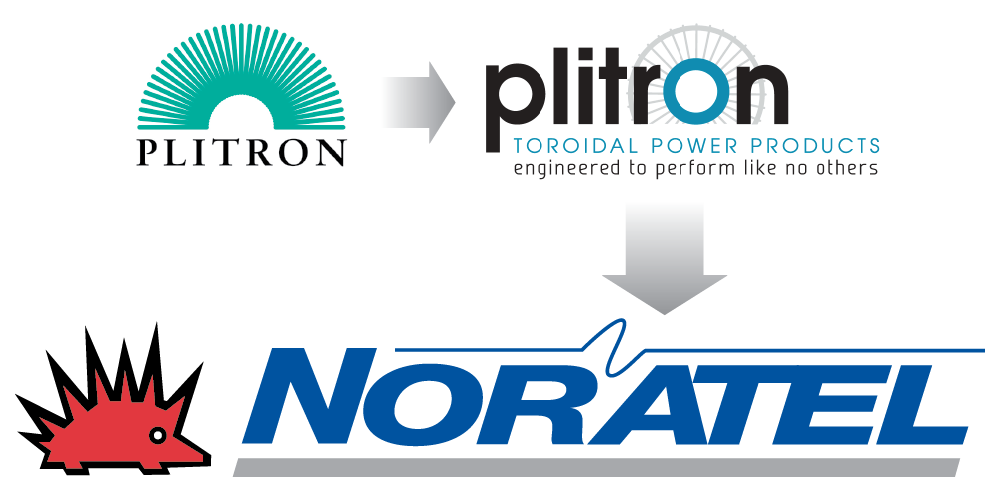
Today: Tuesday, May 13
Home Home Site Map Site Map Contacts Contacts Chinese
Search
Company Products Technology e-Catalog News
 
 
standard
Audio Power Amplifier Module Application Notes


RATINGS
ProtectionSeveral protection circuits are incorporated, which switch the loudspeaker using the LRZ relay:
  1. One second after the application of mains voltage the loudspeaker is switched on thus preventing switch-on noise.
  2. The DC voltage protection circuit isolates the loudspeaker the instant as a DC voltage appears on the output.
  3. The loudspeaker is switched out of circuit if the output transistors start to overheat.
  4. When high frequency oscillations occur, or if an excessively high frequency is applied to the input, the loudspeaker is isolated.
Automatic Volume ControlMost transistor amplifiers exhibit hard clipping of the signal when overdriven, causing high harmonics which severely overdrive the tweeter. To prevent this distortion an automatic volume control is utilized, and its operation is indicated by an LED. This circuit can be defeated.

The loudspeaker impedance has no effect on this circuit which has contrived rise and decay times to allow music peaks to pass through unlimited, preventing the sound from appearing restless.
OverloadThe amplifier modules will not be damaged with loads of lower than 4 ohms. Even a long lasting short-circuit on the output is permitted. The amplifiers will automatically revert to normal use after the removal of the short-circuit.
Environmental ConsiderationsAMPLIMO amplifier modules are as environmentally friendly as possible: the resin is not bonded to the heatsink allowing the heatsink to be reused or recycled. Only one twelfth of the resin is used compared with fully potted modules. Power devices are clamp mounted, allowing the PCB and other components to be easily removed. The compact design minimizes PCB material.
CoolingTransistors are clamp mounted, applying pressure directly above the chip rather than the conventional single bolt method, which applies pressure asymmetrically.

The heatsink has waved fins to increase the surface area for cooling. Also, heatsink fins gradually reduce in thickness to give optimum thermal conduction. A cooling fan is not usually required.
MountingNo rectangular cut-outs required. A drilling template is supplied. Although slots in the heatsinks are provided for the heads of the bolts, it is easier and faster to mount the modules using the supplied self-tapping screws rather than accurately locating nuts. The circuit is electrically isolated from the heatsink thereby avoiding ground loops. As the entire circuit is situated inside the heatsink, it is very well protected.
Power SupplyPower supplies should consist of a PLITRON toroidal power transformer (ordered separately and a special double electrolytic capacitor (DE) of 2x 8,000 µF which includes mounting supports for four supplied diodes. The capacitor / rectifier assemblies were designed with ease and speed of mounting in mind. A symmetrical supply voltage is used to preclude the need for a capacitor in series with the loudspeaker, thus improving bass response.

Power Supply Requirements
Amplifier Capacitor / Rectifier Transformer Voltage (off load)
1 x A30 2 x 8,000 µF 63 VDC electrolytic capacitors.

4 x 6 A Diodes

027014201 +26V 0 -26V
2 x A30 047014201 +25V 0 -25V
1 x A60 037016201 +35V 0 -35V
2 x A60 057016201 +34V 0 -34V
1 x A120 057019201 +47V 0 -47V
2 x A120 077019201 +46V 0 -46V
1 x A180 087018201 +50V 0 -50V

Typical Schematic

230V input version

Capacitor / Rectifier Assembly (DE)

Relay (LRZ) Layout

Volume Control

Connecting

a. Make all connections with approx. 18 AWG (0.7 mm²) stranded wire with the exception of the input lead.

b. Twist the screened input lead together with the input socket earth lead until it reaches the star earth point and then twist it together with the lead going to the zero pin of the module. Following this procedure reduces the low hum level considerably. To prevent earth loops ensure that only one piece of apparatus is connected to mains ground in a complete installation.

c. If a preamplifier is not included in the enclosure, then a volume control potentiometer of 10 or 20k ohm log. may be connected before the input of the power amplifier module.

d. On closing LIM. switch the automatic volume control is disabled, which means that the amplifier will clip on overload. Either opening or omitting this switch enables the automatic volume control circuit thus preventing clipping. Operation of the circuit is indicated by a LED (cathode = short lead = flat side of body).

e. The Amplimo Modules will function without the LED and the LIM. switch. They will also function without the relay, but in this case neither the loudspeaker nor the module will be protected under fault conditions.

f. Two A180 modules can be used together to construct an amplifier producing 360W into an 80 load (not suitable for a 4 ohm load). Consult AMPLIMO.

g. Any deviation from these instructions could affect the reliability of the modules. It is very important that the earth leads are soldered to the star earth tag between the two electrolytic capacitors as shown on the diagram. Preamplifier earth leads may be interconnected as long as earth loops are avoided.
Mounting

a. For correct cooling by vertical air flow the heatsink must be mounted with the fins orientated vertically with at least 20mm clearance around the fins, the heatsink can be mounted with the fins pointing backwards or upwards. Cut off the corners of the bottom layer of the supplied drilling template (which has the same dimensions as the module) to fix it to the mounting surface. The indicated holes are pre-drilled with a 2mm bit. Use the supplied self-tapping screws to mount the heatsink to the chassis or enclosure. Fix the inner label on the inside of the enclosure between the terminal pins.

b. The modules can be mounted inside the enclosure by using long M6 lengthwise in the mounting slots.

c. If the module is not mounted onto a metal surface, then the heatsink has to be connected to the star earth (central 0V) connection by using a solder tag under one of the self-tapping screws. Ensure that the heatsink and all other metal panels of the enclosure have a good electrical contact with each other, and that the earth tag of the input socket is connected to the chassis or enclosure. Check for continuity by using an ohmmeter.

d. To avoid earth loops, ensure that all contacts of the loudspeaker socket are isolated from the chassis.

e. A well insulated grommet with strain relief must be used for the mains cable entry. Use shock proof fuse holders and ensure that all live parts are well isolated.

f. Solder the four diodes onto the double capacitor before mounting it next to the transformer, ensuring that the solder tags are filled with solder.
Mounting Diagram


Amplifier Module Application Notes | A30 | A60 | A120 | A180 | A5 | DE | LRZ


Company Products Technology Contacts News Site Map